Jekyll is a simple, blog-aware, static site generator. You create your content as text files (Markdown), and organize them into folders. Then, you build the shell of your site using Liquid-enhanced HTML templates. Jekyll automatically stitches the content and templates together, generating a website made entirely of static assets, suitable for uploading to any server.
Firebase is a mobile and web application development platform which is owned by Google. One of its feature is the ability to deliver web app assets with speed and security.
Requirements
Needs NPM, you can find the documentation here.
Steps
1. Install firebase-tools
sudo npm install -g firebase-tools2. Login to firebase
firebase loginThis will open Google login page in your browser, login with the account you want to create the firebase account / project in.
3. Create a project in Firebase Console
-
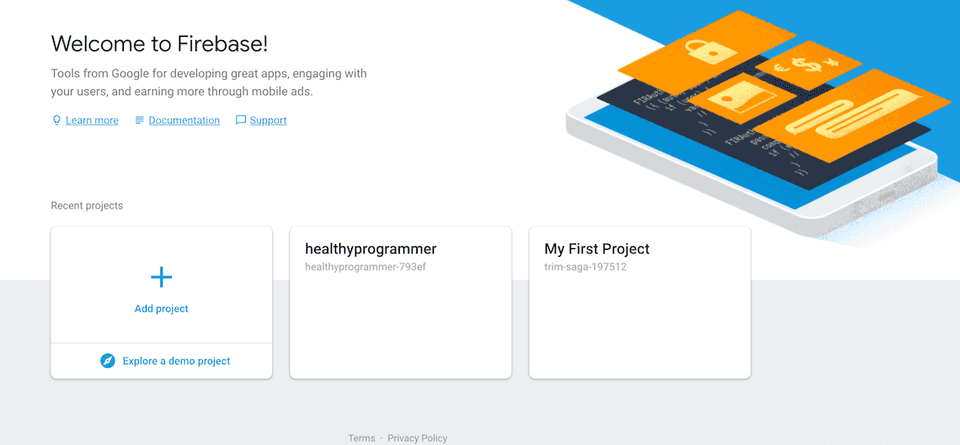
Once you are logged in, visit console.firebase.
-
Click on "Add Project".
-
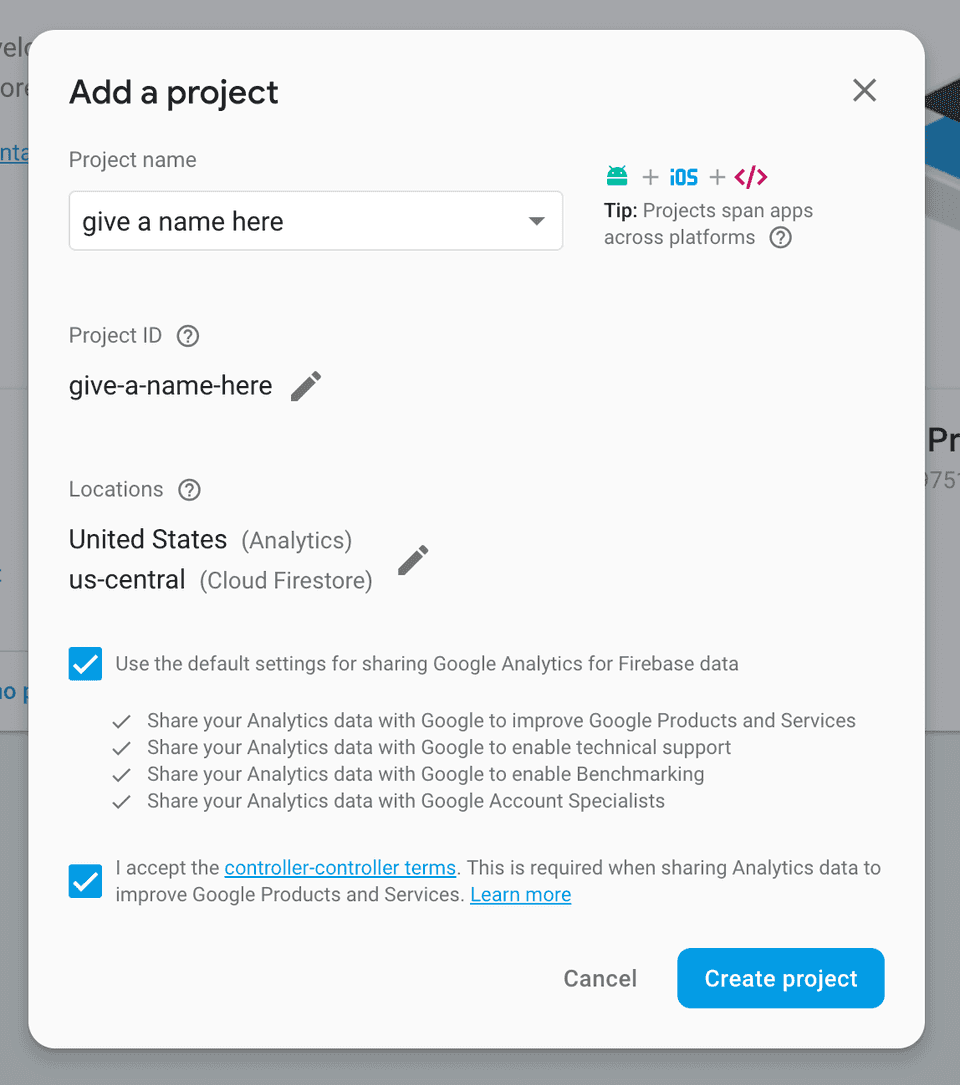
Give a name to your project.
-
Accept the terms and conditions.
-
Click "Create Project".
4. Intialize Firebase in your Jekyll folder
cd <your jekyll folder path>
firebase init
5. Follow these steps
-
Select Hosting by moving the arrow down and hitting "Space" and then "Enter".
-
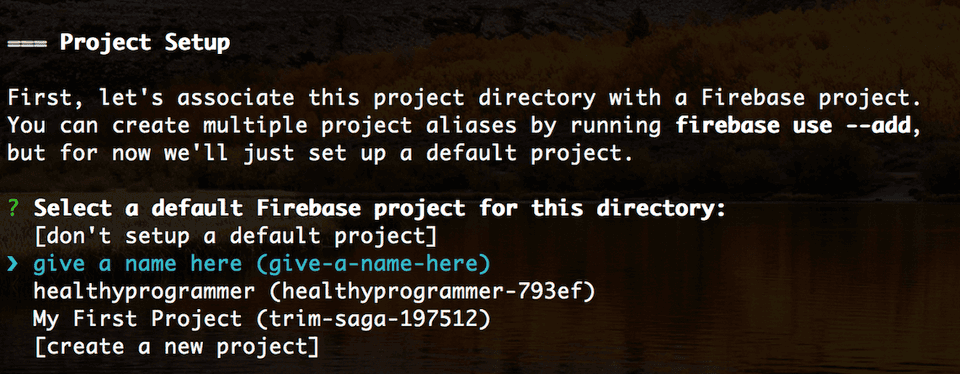
Select the app you just created in Firebase Console
-
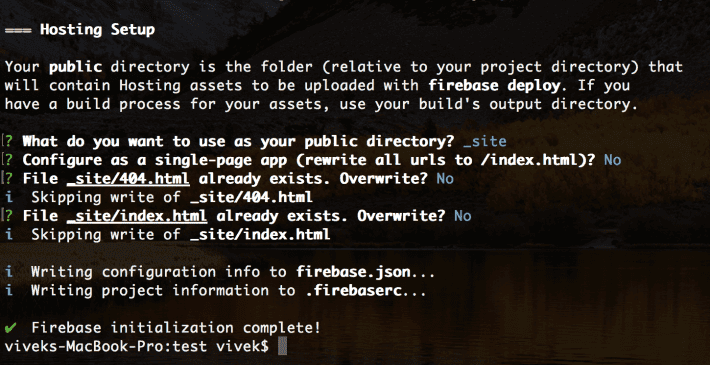
Setup the hosting options that work for you.
7. Deploy
firebase deploy8. Visit the site
Deploy command will show the URL for your new website, visit and check the deployment. Like - https://give-a-name-here.firebaseapp.com.
9. Adding your own domain name
-
Visit your Firebase console https://console.firebase.google.com/.
-
Click on your project.
-
Under "Hosting", click on "Get Started".
-
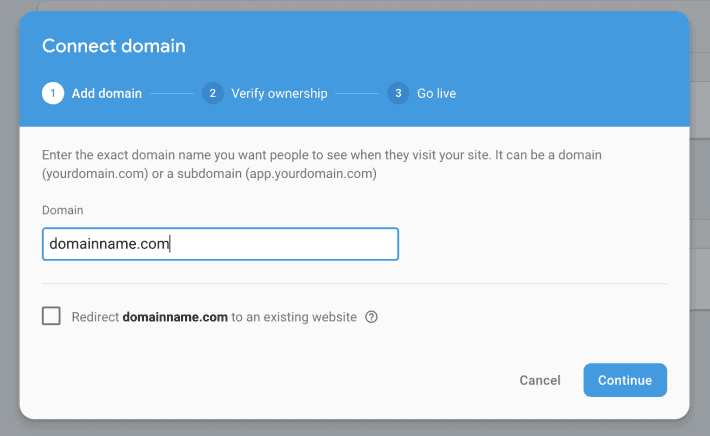
Click on "Connect domain"
-
Add your domain name and click "Continue"
-
Follow the verification step provided by Firebase and you will have the domain connected within 2 hours with SSL.
FYI, this website is hosted on Firebase with SSL.
Keep Building!
Vivek

